DIN rail terminal blocks are the fundamental building blocks of modern electrical and industrial control systems. Serving as secure, organized, and modular connection points, they enable the safe and efficient distribution of power and signals within control panels, PLC racks, power supplies, and machinery.
DIN rail terminal blocks are the fundamental building blocks of modern electrical and industrial control systems. Serving as secure, organized, and modular connection points, they enable the safe and efficient distribution of power and signals within control panels, PLC racks, power supplies, and machinery. This comprehensive guide goes beyond basic steps to provide a detailed walkthrough on selecting, installing, and maintaining rail-mounted terminal blocks for professional, reliable results.
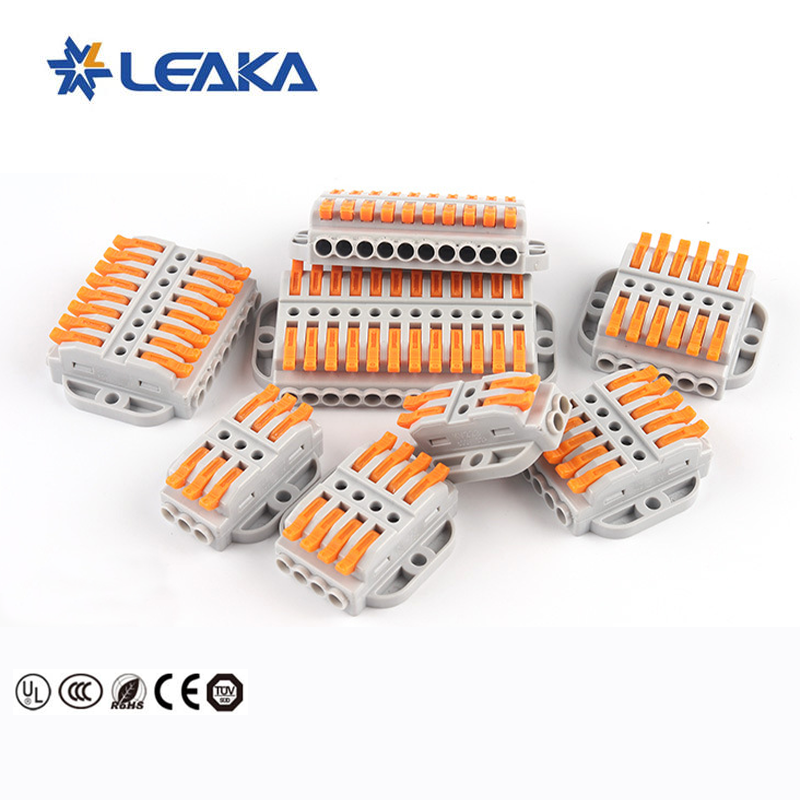
Step 1: Selecting the Correct Terminal Block for Your Application
Choosing the right terminal block is critical for safety and performance. Consider these key specifications:
1) Current and Voltage Rating: Always select a terminal block rated higher than your system's maximum expected current and voltage. Common ratings range from 10A/300V for signal applications to 100A+ for power distribution.
2) Wire Gauge (AWG/mm²): Ensure the terminal block accepts your wire's size range. Using a wire too large can damage the clamp; a wire too small may not be secured properly.
3) Type of Connection:
- Screw Clamp: The most common type, offering a robust, vibration-resistant connection suitable for a wide range of solid and stranded wires.
- Spring Clamp (Push-in): Enables faster, tool-free wiring by simply inserting a prepared wire. Ideal for high-density panels and maintenance.
4) Insulation Displacement Contact (IDC): Pierces the wire insulation for a quick, gas-tight connection, often used in telecommunications and data.
5) Pitch: This is the center-to-center distance between adjacent terminals (e.g., 5mm, 10mm). It determines how many blocks fit on a rail and affects creepage/clearance distances for voltage isolation.
6) Special Features: Consider blocks with test points for measurement, disconnect options for circuit isolation, fuse holders, or surge protection modules based on your circuit needs.
Step 2: Preparation and DIN Rail Mounting
1) Mount the DIN Rail: Securely attach the standard 35mm top-hat DIN rail (EN 60715 standard) to your panel backplate. Ensure it is level and firmly fastened.
2) Prepare the Wires: Strip the wire insulation to the length specified by the terminal block manufacturer—typically 9-11mm. Use a quality wire stripper to avoid nicking the copper conductors. For stranded wire, lightly twist the strands to prevent fraying. Ferrules are highly recommended for stranded wires, especially with screw clamps, as they prevent strand breakage and ensure a perfect, gas-tight connection.
3) Snap the Blocks onto the Rail: Most terminal blocks snap onto the rail from the front. Start at one end of the rail and slide each block into place. Use end brackets, anchors, and end covers to secure the entire block assembly and prevent lateral movement.
Step 3: Making Secure and Professional Connections
1) Insert the Wire: For screw clamp types, slightly loosen the screw using an appropriate-sized screwdriver. Insert the prepared wire (with ferrule if used) fully into the terminal until it meets the backstop. Tighten the screw firmly to the manufacturer's recommended torque. Avoid overtightening, which can strip the screw thread or shear the wire.
2) Push-in Connection: For spring clamp blocks, insert the prepared, straightened wire into the appropriate insertion hole until it clicks and seats. A release lever or tool is used for disconnection.
3) Organization: Maintain clear wire routing. Use cable ducts, ties, and markers. Label every terminal block clearly according to your schematic diagram for future troubleshooting and maintenance.
Step 4: Inspection, Testing, and Maintenance
1) Visual Inspection: Check that all wires are seated correctly, no stray strands are protruding, and all screws are tight. Ensure the insulation is right up to the clamp but not under it.
2) Mechanical Tug Test: Gently tug on each wire to confirm it is held firmly by the terminal clamp and not loose.
3) Electrical Testing: Use a digital multimeter to perform continuity tests between connected terminals to verify electrical paths. For powered systems, check for proper voltage levels and the absence of short circuits.
4) Thermal Monitoring (Critical): Under full load, use an infrared thermometer to check for abnormal heating at connection points. Excessive heat is a primary sign of a loose connection, leading to increased resistance and potential failure.
Best Practices and Safety Warnings
1) Always de-energize the circuit before installing or working on terminal blocks.
2) Respect the ambient temperature rating of the terminal blocks, as it affects current-carrying capacity.
3) Maintain proper segregation between low-voltage signals and high-power terminals to prevent noise and safety hazards.
4) Plan for spares and future expansion by leaving space on the DIN rail.
5) Never exceed the specified wire capacity or use the terminal block as a mounting point for heavy cables, which can cause mechanical stress.
Common Applications of DIN Rail Terminal Blocks
1) Power Distribution: Distributing mains AC or DC power within an enclosure.
2) Control Panel Wiring: Interconnecting PLCs, relays, sensors, and switches.
3) Grounding and Bonding: Using specialized ground terminal blocks for safe earth connections.
4) Signal Conditioning: Organizing and transitioning field instrument signals (4-20mA, 0-10V).
Conclusion
Proper installation of DIN rail terminal blocks is a cornerstone of safe and professional electrical work. By meticulously selecting the right components, following disciplined installation procedures, and conducting thorough testing, you build control systems that are not only functional but also durable, safe, and easy to maintain.

